
If you read lasts weeks post “Naturally Green Histamine Friendly Muffins“, you know that this blog is now 1 year old. And this weeks post will be a bit more personal than my normal posts here, now at least you are warned 😉 When I started this blog last year, I was really feeling the benefits of the elimination diet, basically giving my system an overall break from constantly high histamine levels. I was experiencing more energy and way less headaches than I had experienced in years, and the debilitating digestive tract issues I had been experiencing on and off for about a year had completely subsided.
Experiencing this for myself made it clear to me that I wanted to help others find relief from issues caused by Histamine Intolerance, while still enjoying good and healthy food within this restricted diet. And Thus the blog was born….. Now a Year later my health issues have significantly improved. Don’t get me wrong I still have a bit to go. But this weekends birthday parties for my oldest son, really made it clear for me how far I have come since last year. I still remember having eaten a bit of chocolate last year, when I was preparing his birthday cake, with the result that my heart was racing soooooo hard, that I wasn’t able to sleep all night. Which then brought on its own set of problems and I was dead for days afterwards…. plus had major stomach cramps! (-> I was off chocolate for months after that).
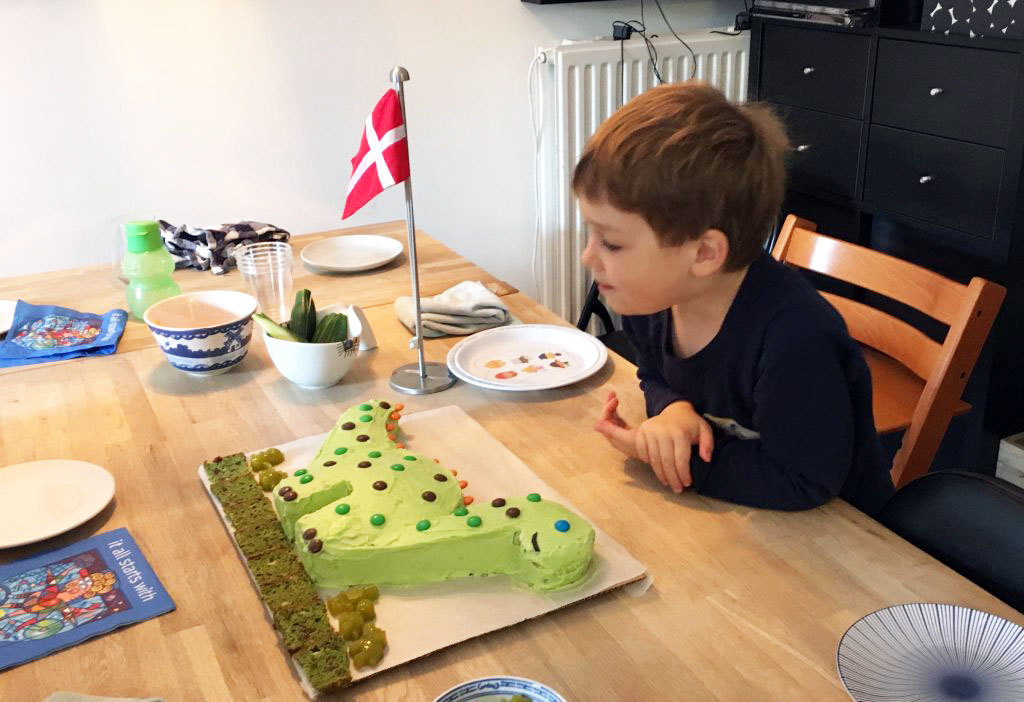
This years birthday parties (…. yeas parties in plural! Two in one weekend! One for the family and for his friends from school) went so much better. I had multiple medium to high histamine meals, including chocolate, two days in a row. While being super active non stop, which is a histamine trigger on its own. And I was fine, or at least a thousand times closer to fine than I had expected. The first night I slept normal, had a bit of a weird feeling in my stomach when I woke up, but it passed after drinking a cup of my “Antihistamine Tea Blend” and pushing back breakfast for about two hours. Sunday afternoon, when all of the five extra kids had been picked up, I was still okay and the weather was so nice, that we decided to take our kids to a local outside pizza place with a little playground.
Since cheese is one of my biggest triggers, I mainly make my own histamine friendly pizzas, but once in a while I eat a cheese filled pizza, but only if it is soooooo worth it. And this guy, who just happens to have opened up this little outside pizza place literally around the corner from our house, makes some really delicious pizzas. Making it sooooo worth it. I took a couple of DAOsin pills before eating the pizza like I normally do, when eating out. But even when I take DAOsin, cheese normally triggers a headache quite fast. This time nothing 😀 And I slept okay that night, plus the kids slept out, which was so nice. Monday morning, I had a hard time getting out of bed, but once I got up and running and had brought my oldest to school, I was just fine….. And I must admit that I had expected to be totally dead by then, and had actually scheduled time for feeling dead tired and not doing anything Monday. So basically I had a bonus relaxing day, which I could actually enjoy, because I wasn’t completely dead tired, or suffering from major stomach pains or headaches.

Comparing these two birthday weekends a year apart, makes it very clear to me how far my healing has come. And it clearly shows that all of my efforts in terms of gut healing this past year, is paying of. Which is beyond awesome.
So, that was my little happy rant, about my personal health progress. Like I said in the beginning of this post, way more personal than I normally get here. I would love to hear some of your success stories too, or which struggles you are currently facing. So if you made it this far into to the post, and are reading this, please feel free to share your story in the comments below.
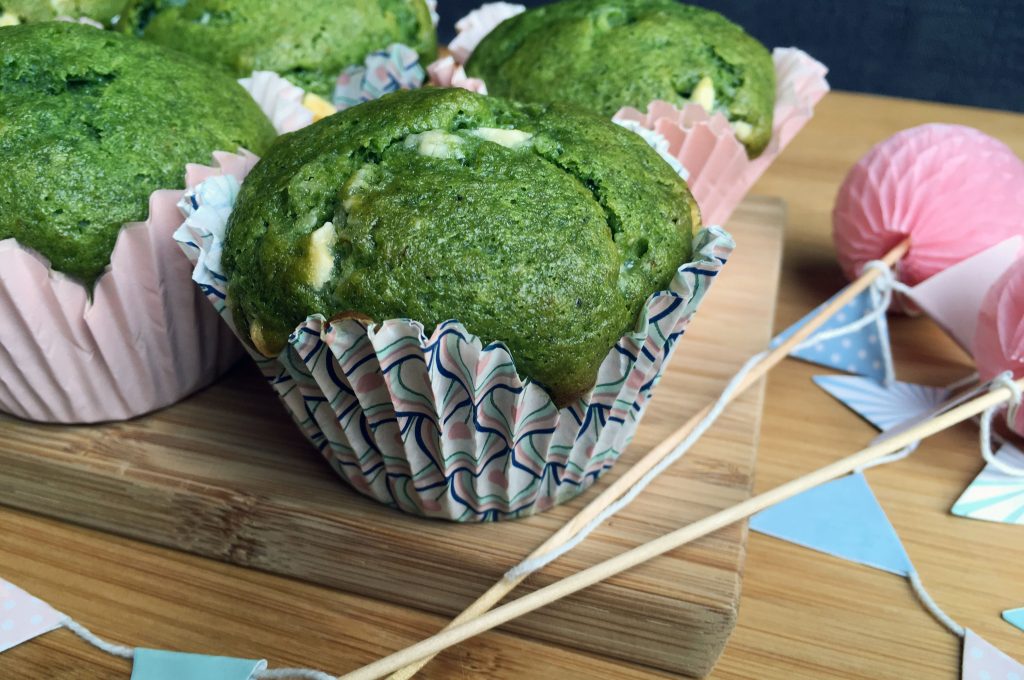
As for a recipe, I guess this weeks blog post is more of an tutorial/guide on how to turn the lovely Green Histamine Friendly Muffins from last week, into a awesome dinosaur cake, perfect for any 5 year old. A fair warning though, this is not going to be healthy 😉 If any one has a good recipe for a healthy/semi healthy butter cream I would love to hear about it!!
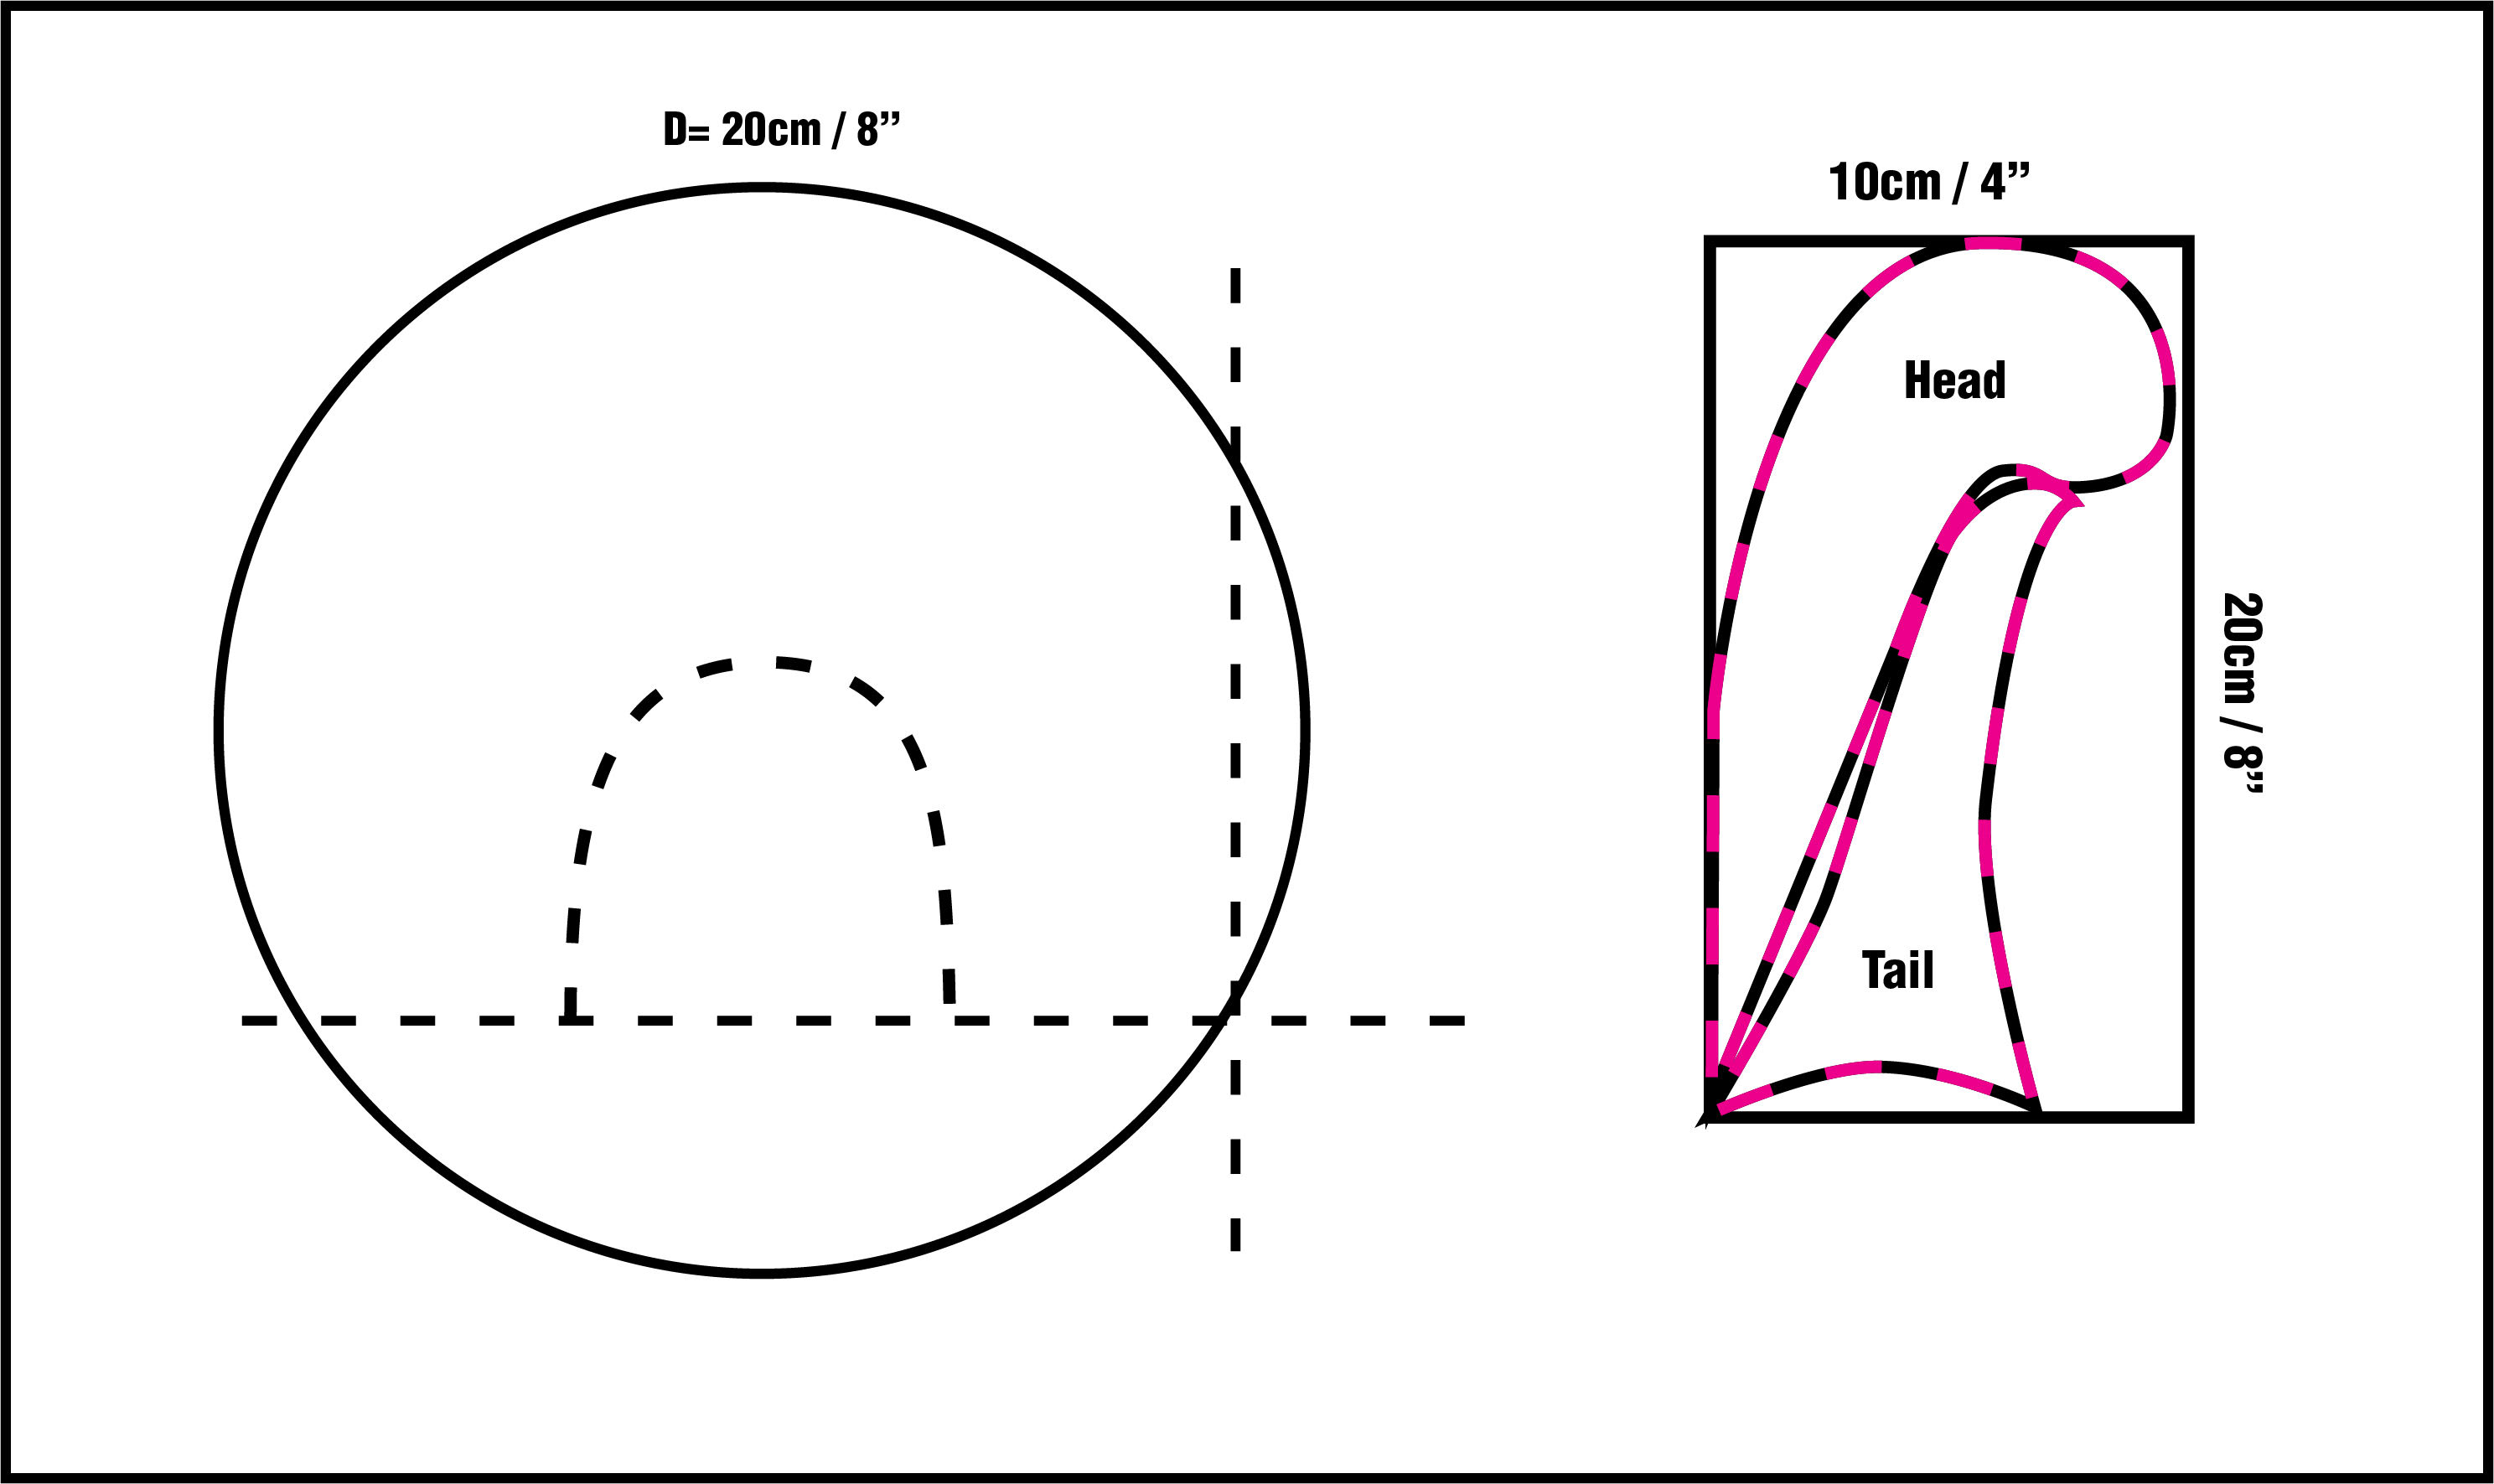
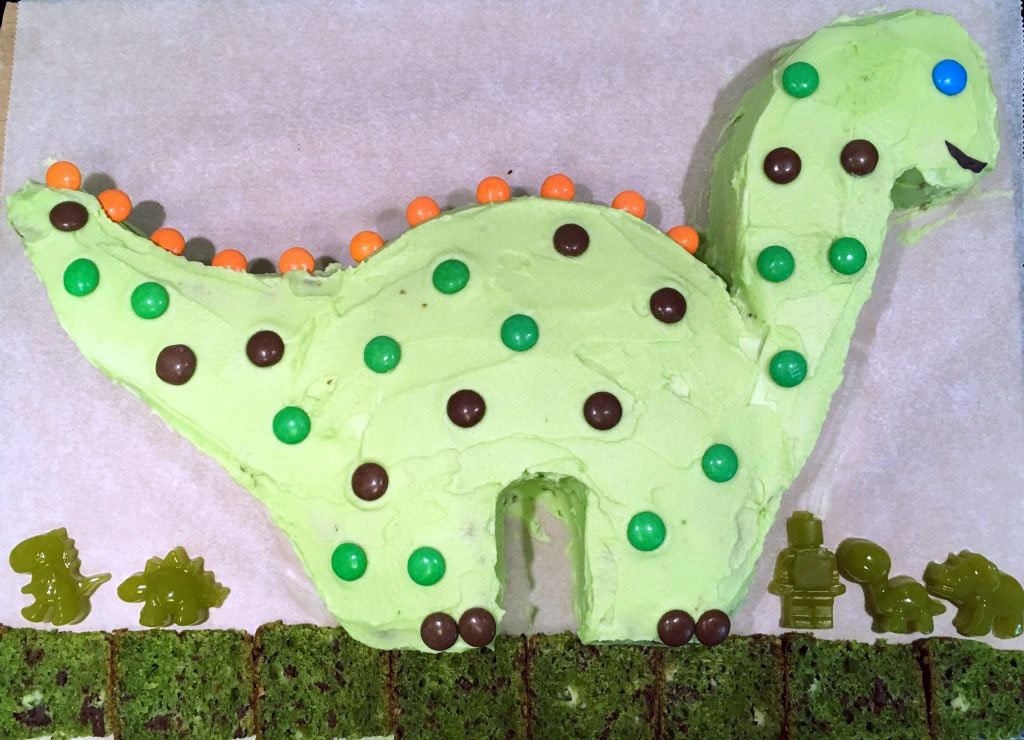
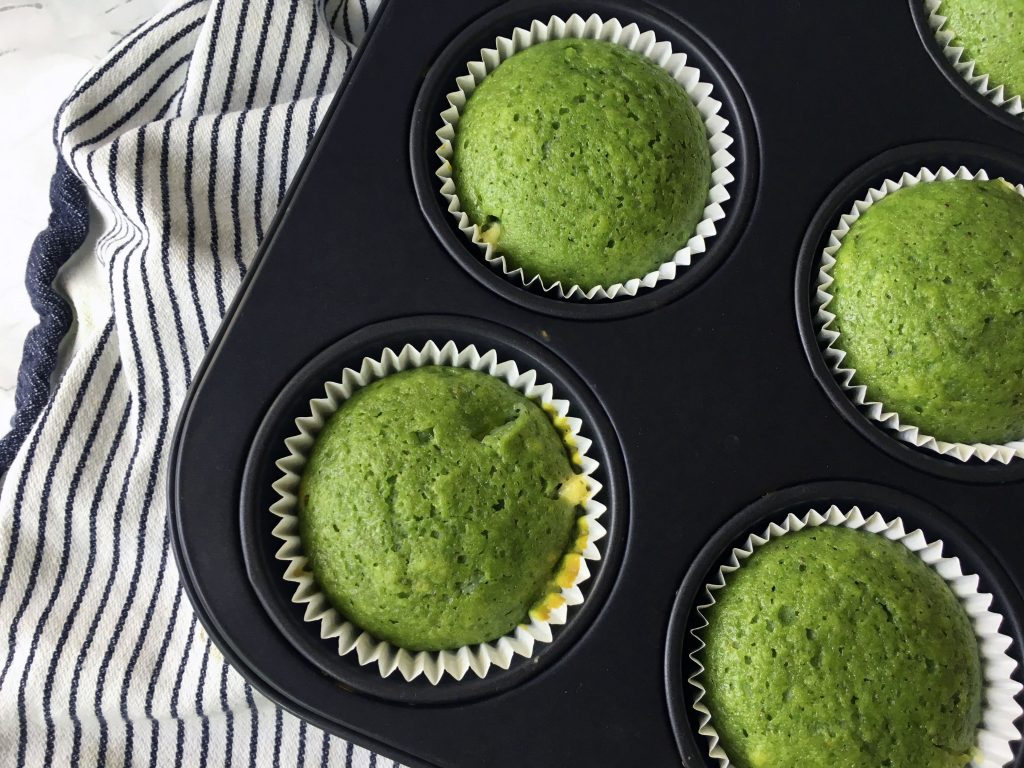
Instead of baking muffins I baked two cakes out of the “Naturally Green Histamine Friendly Muffins” recipe. One round (20 cm in diameter, 8 inches), and one rectangular cake (ca. 10 x 20 cm, 4 x 8 inches). The body of the dinosaur is then made from the round cake and the head and tail from the rectangular cake. See the diagram above.

Once the cake is all cooled down and assembled, you can cover it with some green butter cream. The best way to do that, is to first cover it with a thin layer, and then letting it firm up in the refrigerator for about an hour. Then give it the final coating, and place it back in the refrigerator until you are ready to decorate it. As for the green butter cream, I had actually planned on coloring mine with some freshly made kale juice, which worked pretty well when I tested it. But my juicer broke that day, and I ended up coloring it with a mix of some yellow and blue food colors I had in the cupboard (which we normally use to make our own version of Play-Doh :)!). Not the most histamine friendly approach….. but that was the option I chose at that moment, Friday night when my juicer broke, the stores where closed and I decided to NOT stress out about it…. 😉
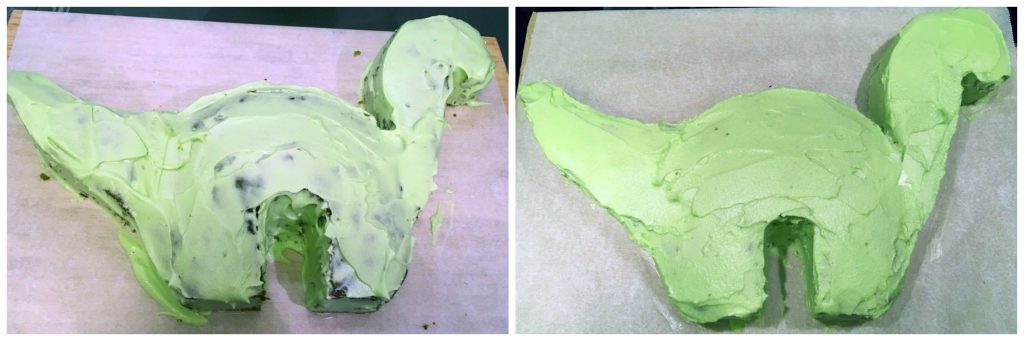
I made this cake, and frosted it the day before the actual party. This was a choice I made based on two things: 1. I wanted it to be a surprise for my son, so I wanted to make it while he was asleep. 2. I didn’t want to stress about it before or during the party. This means that I baked my cake approximately 24 hours before I served it. Regardless of when you bake your cake, you need to let it cool down before you cover it with butter cream. If it is still warm by then, the butter cream will just melt off.
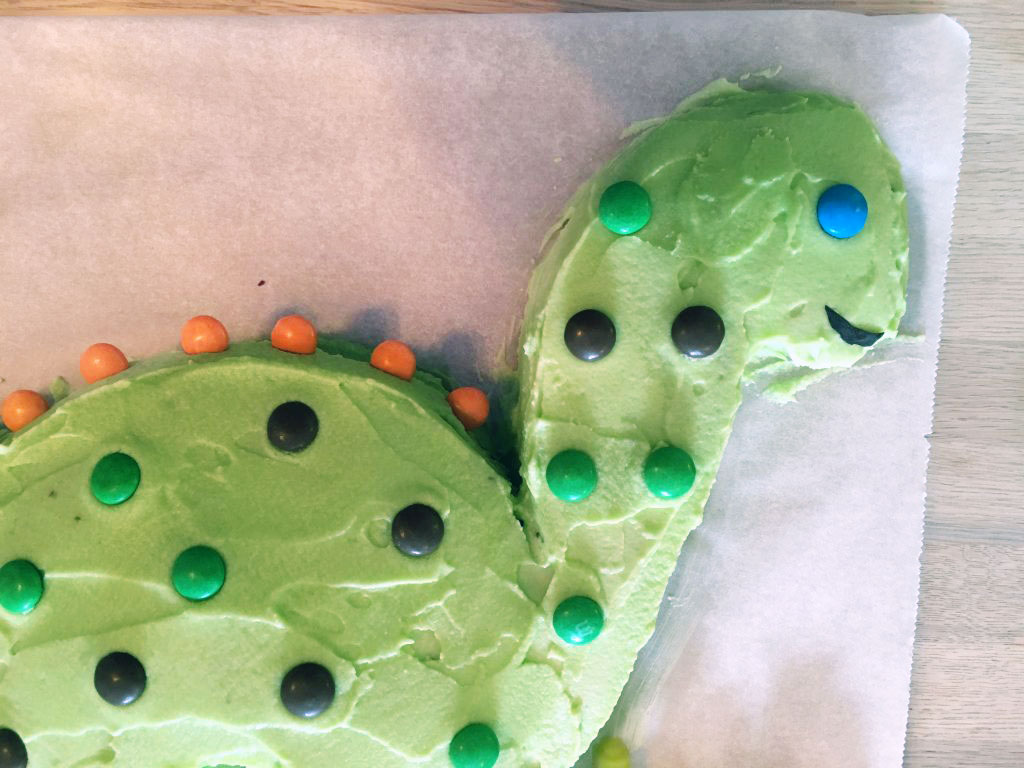
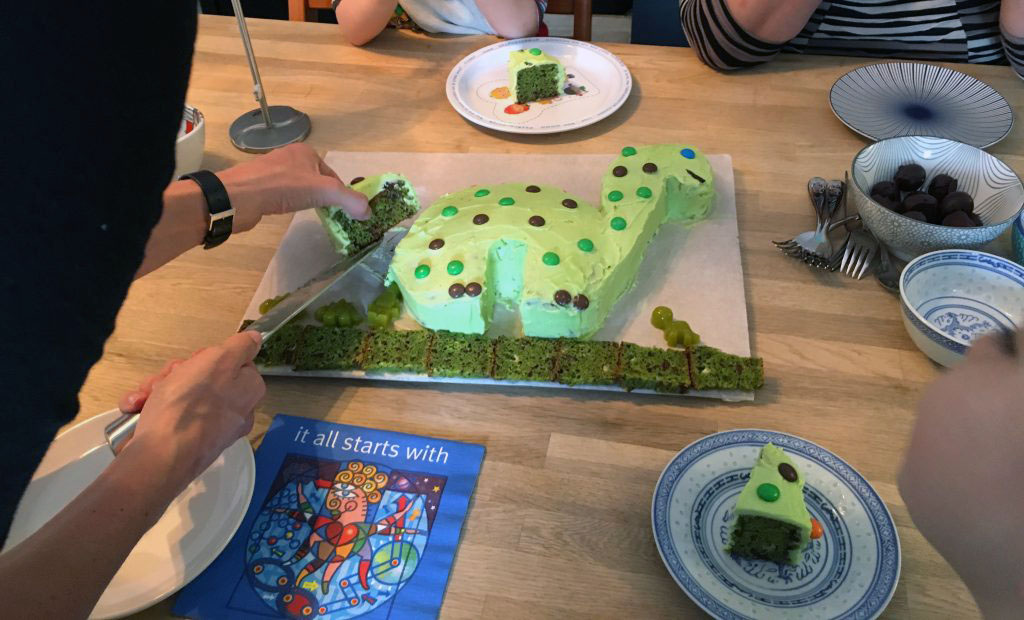
Now decorate your dinosaur cake the way you see fit. I used some m&m’s to make spots, eye, toes, and “spikes” on the back of the dinosaur. The mouth is a piece of skin from a fresh fig. All of this can be done with some white chocolate chips and fresh blueberries, just to give an example of a more histamine friendly way to do it 🙂 Since I choose to decorate it with m&m’s, I waited until last minue to decorate it, because otherwise the color of the m&m’s can melt a bit. For the grass the dinosaur is standing on, I just cut thin slices of the cake that was cut away when the dinosaur was cut out. I also made a few green dinosaur gummies, just for the fun of it. Now serve, eat, have fun and enjoy o/
Link to my “Naturally Green Histamine Friendly Muffins” recipe!
Print
Description
This cake is made from my “Naturally Green Histamine Friendly Muffins” recipe, see link above. The butter cream is adapted from a recipe I got from a friend of mine, where he has it from – I do not know.
Ingredients
Dinosaur Cake:
- cake batter, see link to my “Naturally Green Histamine Friendly Muffins” recipe above.
- 1 round baking pan (20 cm in diameter, 8 inches)
- 1 rectangular baking pan (ca. 10 x 20 cm, 4 x 8 inches).
Butter Cream:
- 150 g butter (soft)
- 200 g powdered sugar
- 40 g cream cheese, natural
- 60 g mascarpone
- lemon juice to taste (optional)
- food color (kale juice, or other coloring agent)
Edible Decorations:
- (white) chocolate chips
- blueberries or other berries
- m&m’s or somethings similar – not histamine friendly though.
- Only your imagination sets the limits
Instructions
- Turn on your oven, 180 °C (360 °F)
- Grease two baking pans, so the cakes are easy to remove when baked. You need one round baking pan (20 cm in diameter, 8 inches), and one rectangular baking pan (ca. 10 x 20 cm, 4 x 8 inches).
- Instead of baking muffins from the “Naturally Green Histamine Friendly Muffin” batter bake two cakes. One round, and one rectangular cake. Make sure to distribute the batter between the two baking pans, so that the height of batter is approximately the same.
- Bake the cakes for ca. 40 minutes. Use a tooth pick to check whether or not the cake is done. When it comes out clean, the cakes are done.
- Let the cakes cool down completely.
- While the cake cools down, you can make the butter cream. Add the (soft) butter and powdered sugar to a food processor, or a mixer. Mix till a white homogeneous paste has formed.
- Add the cream cheese and the mascarpone and give it a good mix.
- Add some fresh lemon juice, to taste (note: this is optional).
- Now add the color, bit by bit till you get the color you want. Note if you use kale juice, be careful, that the butter cream doesn’t get too thin.
- Place the butter cream in the refigerator, to firm up a bit.
- Cut out and assemble the dinosaur, see diagram above. The body of the dinosaur is made from the round cake and the head and tail from the rectangular cake.
- Place the dinosaur on the plate/board you want to serve it on (make sure the plate/board fits in your refrigerator). Put a little butter cream underneath the tail and head, to make it stick and not move around when you cover the cake with butter cream.
- Cover the whole dinosaur with about half the butter cream. Place it in the refrigerator for 30-60 minutes to let it firm up a bit.
- Then cover the dinosaur with a second layer of butter cream. Smooth out the butter cream as well as you can/want to. And place it back in the refrigerator till you are ready to decorate it and serve it.
- Decorate your dinosaur as you see fit 🙂 Serve, have fun, dig in and enjoy o/
Link to my “Naturally Green Histamine Friendly Muffins” recipe!

What a great and creative Mom you are on the attractive cake and veggie train – you make it fun for your kids to eat it too!
I buy the organic natural color fruit based covered chocolates for my family at Good Earth
Thank you so much Mary 🙂 And great tips about the chocolates available at Good Earth 😀
Can the frosting be made without mascarpone cheese?
Hi Priyanka,
You can replace the mascarpone chese with cream cheese. I use a combination of cream cheese and mascarpone because it gives it a more subtle cream cheese flavor, which is preferred by my kids.
Tania