Homemade candy and baked goods are, in my book, a 1000 times better than anything you can buy at the supermarket. And note that this is not me saying that homemade candy per se is healthy – not at all. But when you make it yourself you get control over which ingredients are used, the level of sweetness etc. And lets not forget that it is a nice and fun activity to do with the kids.

One of the things we have been making lately is homemade gummies. They are easy and fun to make, and you can play around with the color, shape, taste and level of healthy vs unhealthy. My oldest son really love to help making them, and he had his way we would be making them at least twice a week. Which we don’t, but since we started, we have made them once or twice per month. It is a fun little weekend project 😉
We make our gummies using fruit juice/vegetable juice, either freshly made here at home or store bought. I have tried out a few different recipes for homemade gummies, and the one that I like the most, is these: “Gut Healing Gummies!” from “Cultivate Beauty“. Their ratio of juice to gelatin is the approximate ratio I try to use.
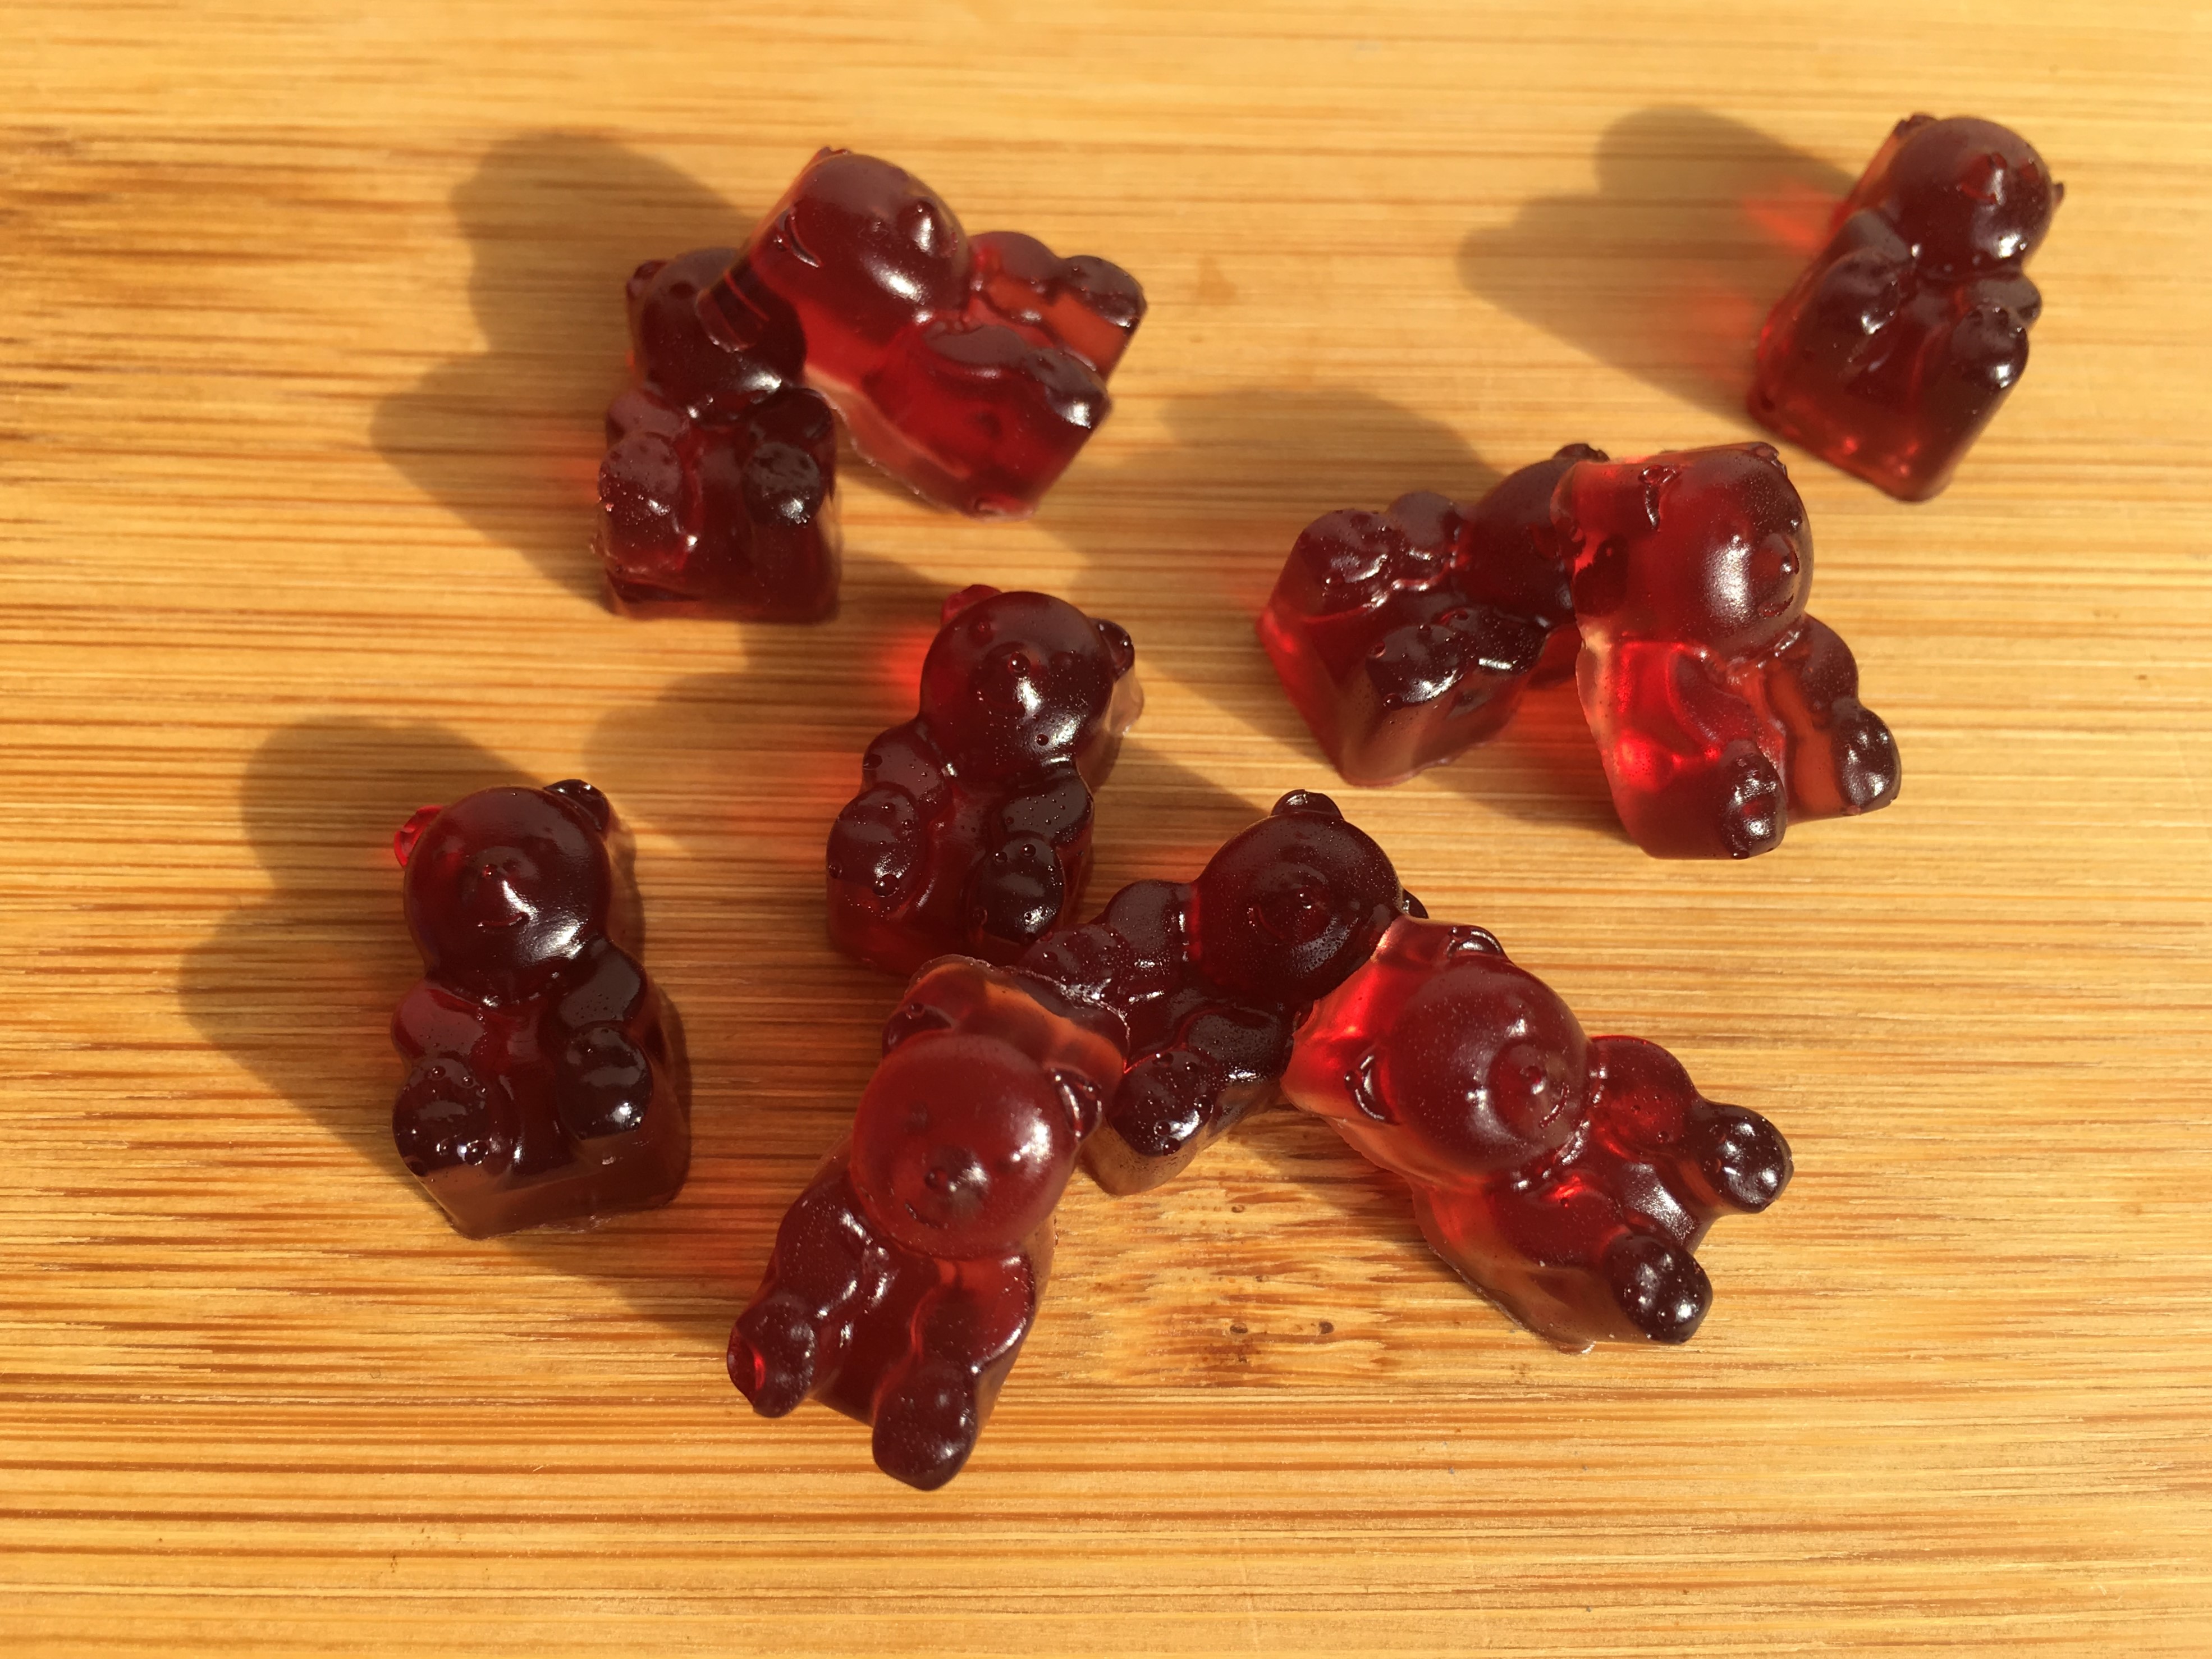
For these Homemade Red Gummy Bears I used apple juice, blueberry concentrate, honey, vanilla extract and of course gelatin. I use grass fed beef gelatin from Great Lakes. Gelatin is a great protein source to add to your diet. Gelatin has many health benefits, including being great for gut health. Gelatin is a great source of the amino acid glycine, which promotes relaxation and sleep, helps improve insulin insensitivity, reduces inflammation, improves digestive health, protects the mucosal barrier (read anti-leaky gut compound!!). For more info on gut health and healing your gut, see the page “Healing Your Gut“, here on the blog.
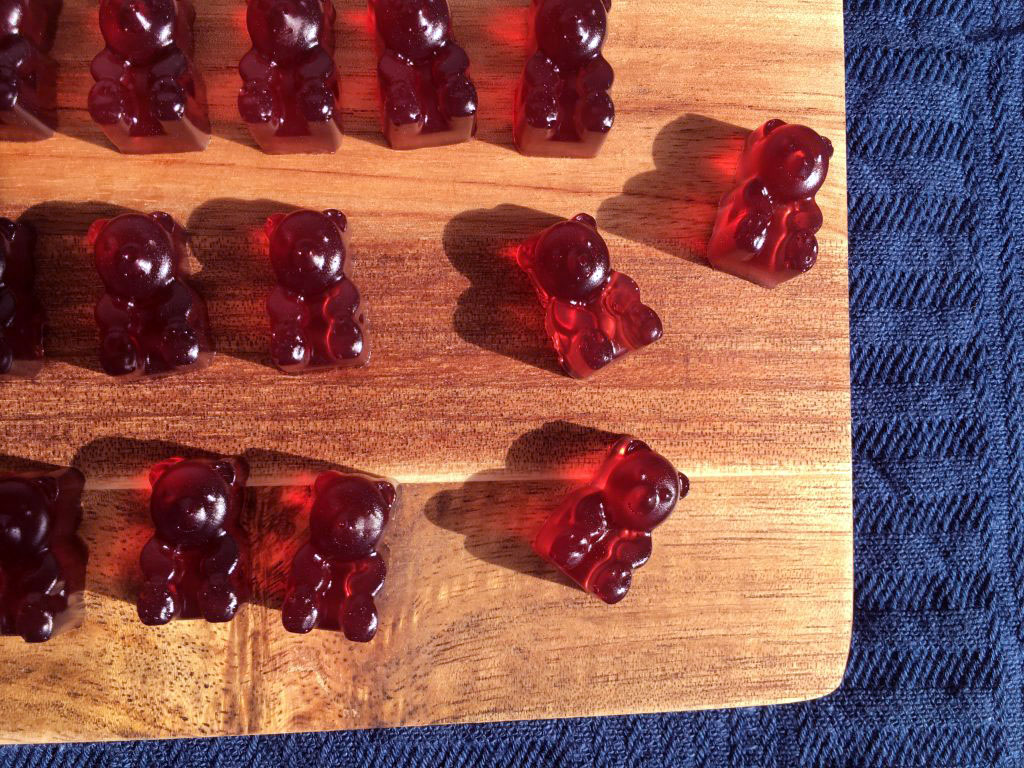
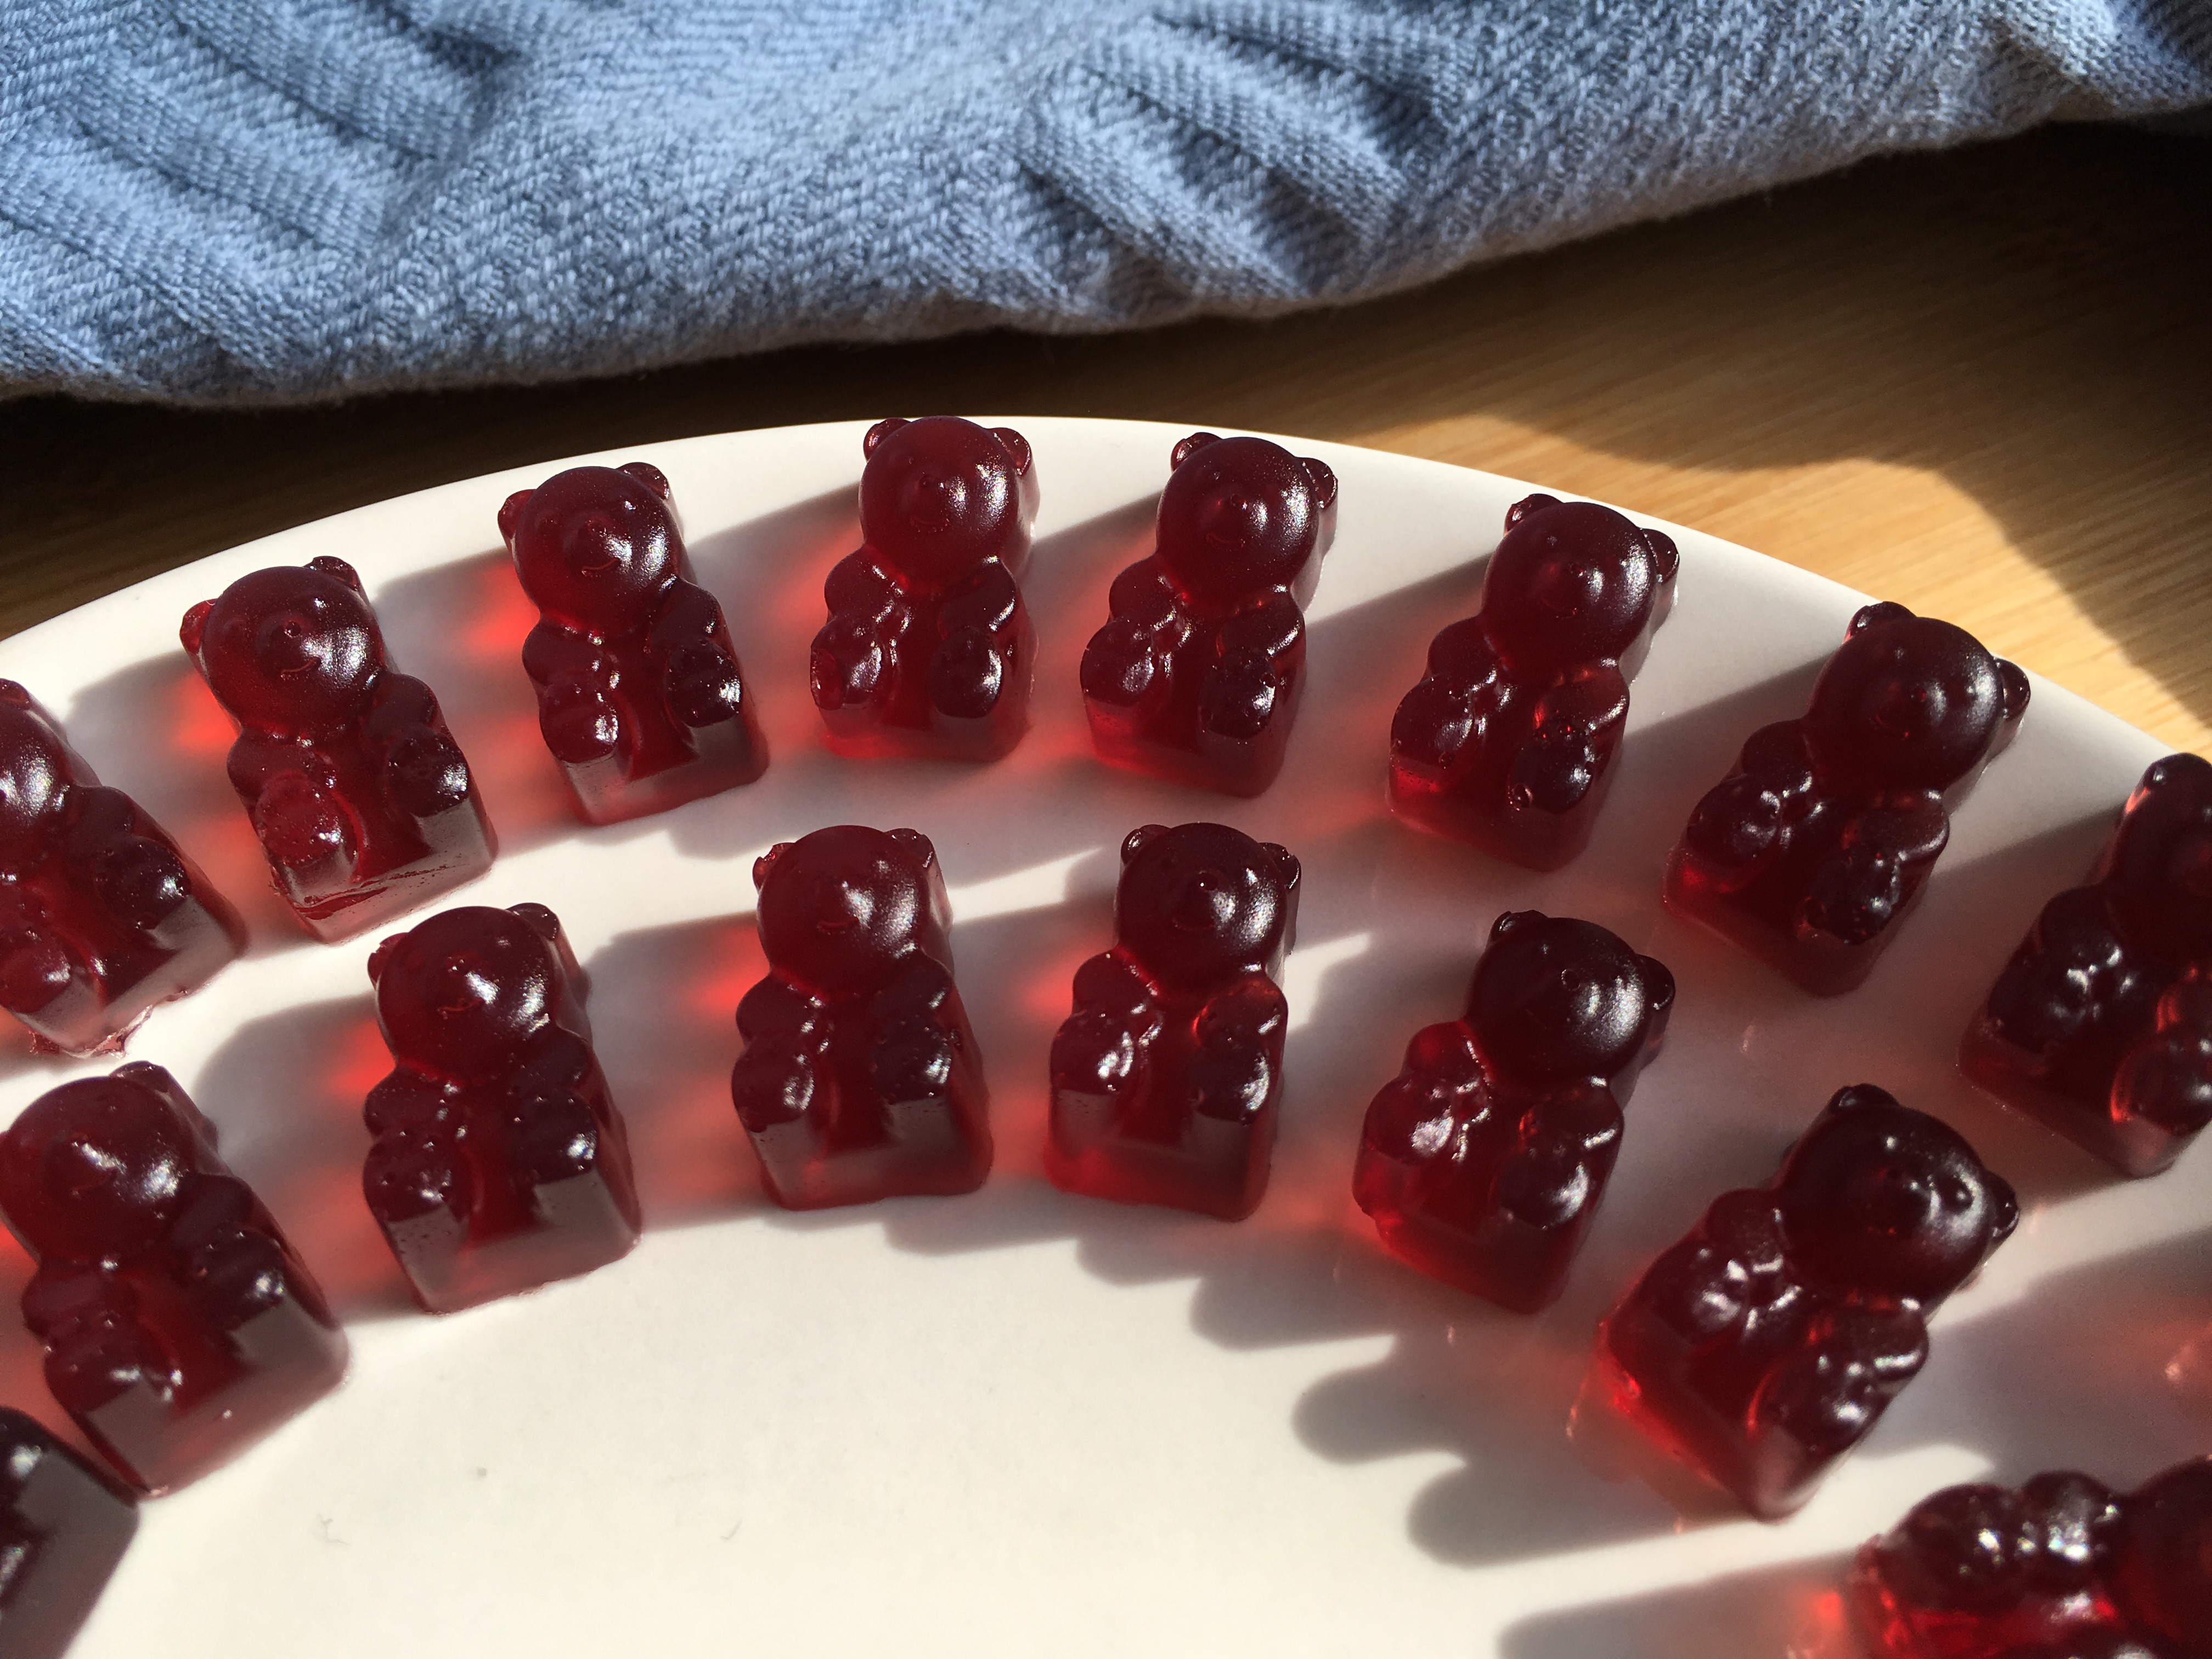
Last but not least you of course need some nice molds. This in my opinion is where the real fun comes in. I love these cute little gummy bear molds. My oldest’s is all about the LEGO molds, and my youngest’s favorite mold is the one with the dinosaurs 🙂 They are so cute…… And there are so many options, so you can go completely crazy, if you want 😉
In all disclosure the links to amazon above are affiliate links, which means that if you click on to the product in question and buy it, I get a small commission. This will hopefully help me to cover some of the costs to running this blog. However, this does not cost you anything additional when you order through one of these links.

Add the apple juice to a small pot, sprinkle over the gelatin and let it “bloom”. Which is a fancy way to say: let the gelatin hydrate. See the pictures above, to get an idea about this. While the gelatin blooms, get the rest of your ingredients and the molds ready. When I use these little gummy bear molds, I like to coat the molds with a little icing sugar (corn starch works fine as well). This makes it a bit easier to get the little gummies out of the molds again, once they are done.

When the gelatin has bloomed, turn on the heat and slowly melt the gelatin apple juice mix. Don’t let it boil. Stir it slowly, don’t over whisk it, as it foams rather easy. Once all of the gelatin has dissolved, take it off the heat. Add the blueberry concentrate, honey and vanilla extract. Stir it gently, untill it is all mixed well. Pour the gummy mix into molds, or use a little pipette (dropper). For the little gummy bear molds it is definitely necessary to use a little pipette 😉
Place the gummies in the refrigerator for minimum an hour, before you remove them from the molds. They are now ready to be eaten. Enjoy 🙂 They stay good in the refrigerator for a couple of days, but remember to listen to your own threshold in terms of how fresh your food need to be. The longer they are kept, the harder the little gummy bears get.
Print
Description
Homemade candy and baked goods are, in my book, a 1000 times better than anything you can buy at the supermarket. When you make it yourself you get control over which ingredients are used, the level of sweetness etc. Plus it is a nice and fun activity to do with the kids.
Ingredients
- 100 ml apple juice*
- 4 tsp gelatin (I used beef gelatin from Great Lakes)
- 1–2 tbsp blueberry concentrate (unsweetened)**
- 1 tbsp honey (or liquid sweetener of choice)
Instructions
- Add the apple juice to a small pot, sprinkle over the gelatin and let it “bloom”. Which is a fancy way to say: let the gelatin hydrate. See the pictures above, to get an idea about this step.
- While the gelatin blooms, get the rest of your ingredients and the molds ready. When I use these little gummy bear molds, I like to coat the molds with a little icing sugar (corn starch works fine as well). This makes it a bit easier to get the little gummies out of the molds again, once they are done.
- When the gelatin has bloomed, turn on the heat and slowly melt the gelatin apple juice mix. Don’t let it boil. Stir it slowly, don’t over whisk it, as it foams rather easy. Once all of the gelatin has dissolved, take it off the heat.
- Add the blueberry concentrate and honey. Stir it gently, until it is all mixed well.
- Pour the gummy mix into molds or use a little pipette (dropper). For the little gummy bear molds, it is definitely necessary to use a little pipette.
- Place the gummies in the refrigerator for minimum an hour, before you remove them from the molds. If they are difficult to get out of the molds without breaking, pop them back in the refrigerator for another 30-60 minutes.
- They are now ready to be eaten. Enjoy 🙂 They stay good in the refrigerator for a couple of days, but remember to listen to your own threshold in terms of how fresh your food need to be. The longer they are kept, the harder the gummies get.
Notes
- Use store bought or freshly made apple juice.
- The more blueberry concentrate you add the darker the red color will become.
- Tip: Use a little icing sugar or corn starch for coating the molds (optional), this helps the gummy bears to come out of the mold easier.


Could you tell me which blueberry concentrate brand you use?