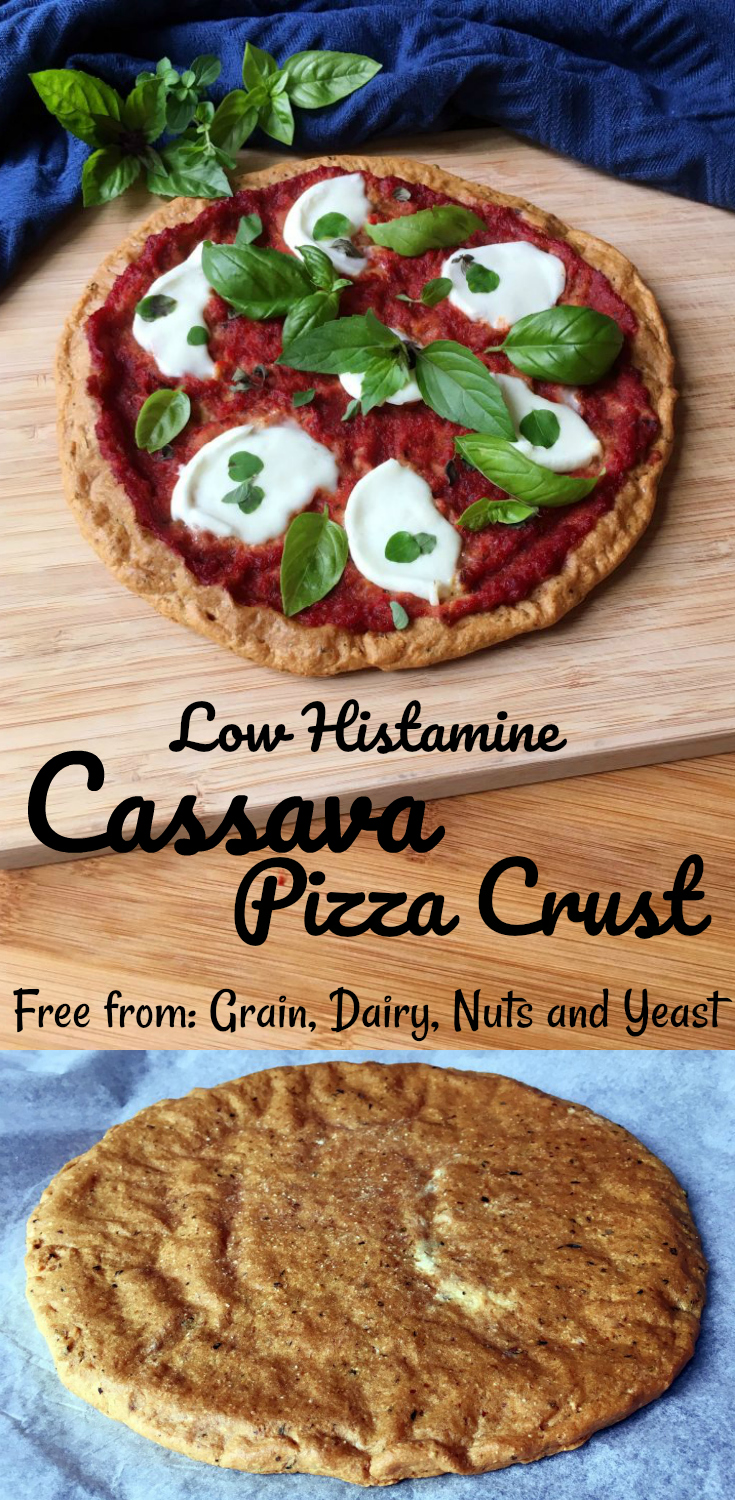
Over the past year I have been searching for a great low histamine and grain free pizza crust. And during this year I have been testing more pizza crusts than I can count. Some have definitely been better than others, and some have been down right awful. But this Low Histamine Cassava Pizza Crust, made from cassava I really like. Yes I said Cassava 🙂 The big ass brown root vegetable 🙂

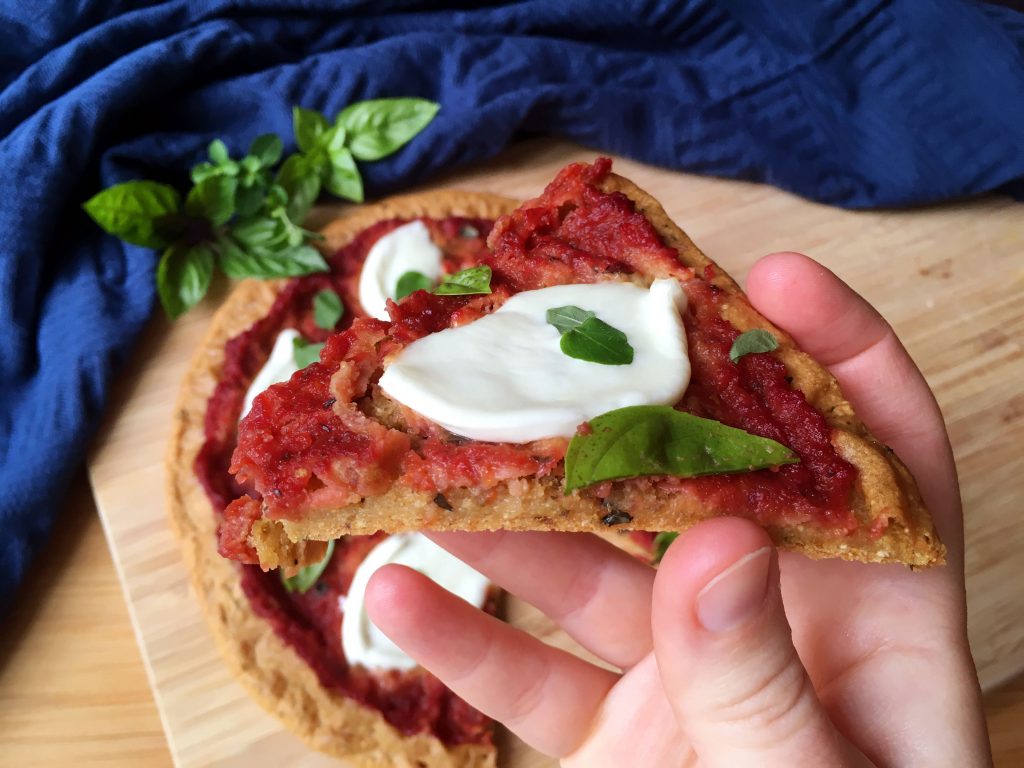
This pizza crust is grain free, gluten free, egg free, dairy free, nut free, vegan, yeast free and low histamine 🙂 And the crust holds together like a normal thin crust pizza, which I really love. I really prefer to eat my pizza with my hands instead of knife and fork. And trust me I have tried several recipes where the bottom doesn’t hold up…. It is so frustrating when it falls apart in your hands.
This recipe is based on the recipe for ” Gluten Free Cassava Pizza Crust – Paleo & AIP Friendly” by Holistic Squid. I make mine a little different, but the concept is the same. The biggest difference is that I also add a ricing agent, making the whole thing slightly more fluffy. To make this cassava pizza crust you need to start with peeling and chopping up the cassava root. Then boil it in a pot of water for about an hour. You want it to be soft and fall off the fork when you prick it.

Transfer the boiled cassava root to a food processor. Don’t let it cool down too much, it is significantly easier to blend the cassava when it is warm than when it has cooled down. I’m speaking from experience here 😉 Before you blend the cassava root, add the (extra virgin) olive oil, apple cider vinegar, and herbs of your choosing. Blend it till you get a smooth paste. Don’t blend it too long though…. It might just be my food processor, but the cassava paste kind of tends to kind of crawl out of the machine. It kind of crawls up under the blade attachment, something I have never seen happen before.

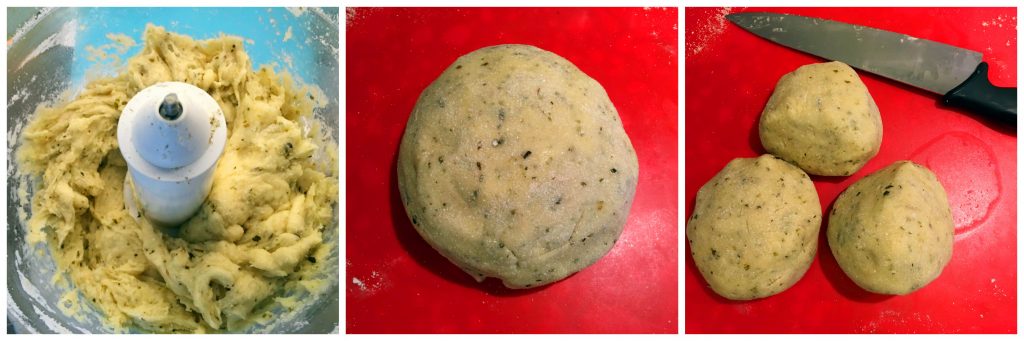
Mix the dry ingredients, part of the coconut flour, baking soda and salt. Add the dry ingredients to the cassava paste and blend it for a bit to combine it. Take the dough out and form a ball with your hands. You want to be able to form the dough without it sticking to your hands. If it is sticky, kneed in a bit more coconut flour. You need about 1 cup of cooked cassava per person. I usually just cook the entire cassava root, and multiply the recipe to fit. Then I split the dough into 1 person portions and make individual pizza crusts. The pizza crusts which are in surplus, I freeze down. That way I have them ready for a quick and easy meal another day.
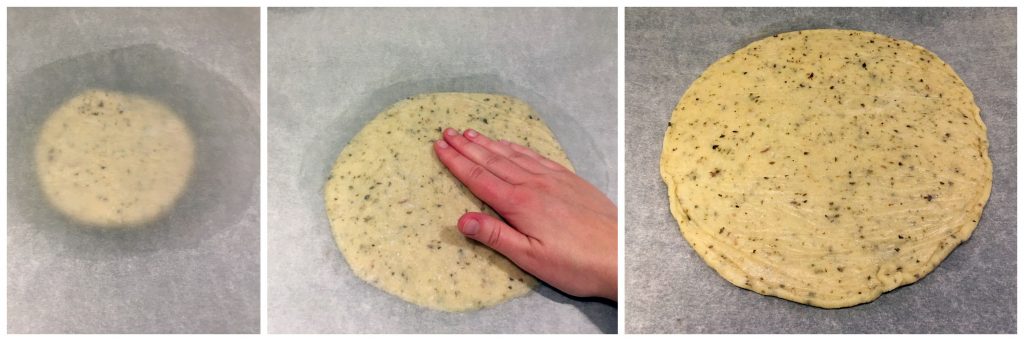
Now place the 1 person dough portion on a baking plate lined with grease proof parchment paper. Flatten it a bit with the palm of your hand and place another sheet of grease proof parchment paper on top. Then use your hands to flatten the dough further and form a crust as thin as you can. You are aiming for about 2 mm thickness. If the edges get a bit too thin, roll up the edges a bit to make them a bit thicker. The edges get the most crunchy.
Bake the pizza crust in a preheated oven (180 °C/360 °F; hot air) for about 15-20 minutes. Then flip it and bake it for another 10-15 minutes on the other side. When the crust lets go of the grease proof parchment paper, it is ready to be flipped over. If it doesn’t let go, but sticks to the parchment paper, give it another couple of minutes. The time needed in the oven depends on the thickness of your crust, the size of your crust, your oven, the placement in the oven, hot air vs normal setting, and finally how many pizza crusts you bake at the same time.

In my experience you can rather bake it too long than too short, so don’t worry so much about over baking it. When the crust is ready, take it out of the oven, and top it with your favorite pizza toppings. Pop it back in the oven for another 10 min (note: this also depends on which toppings you choose).

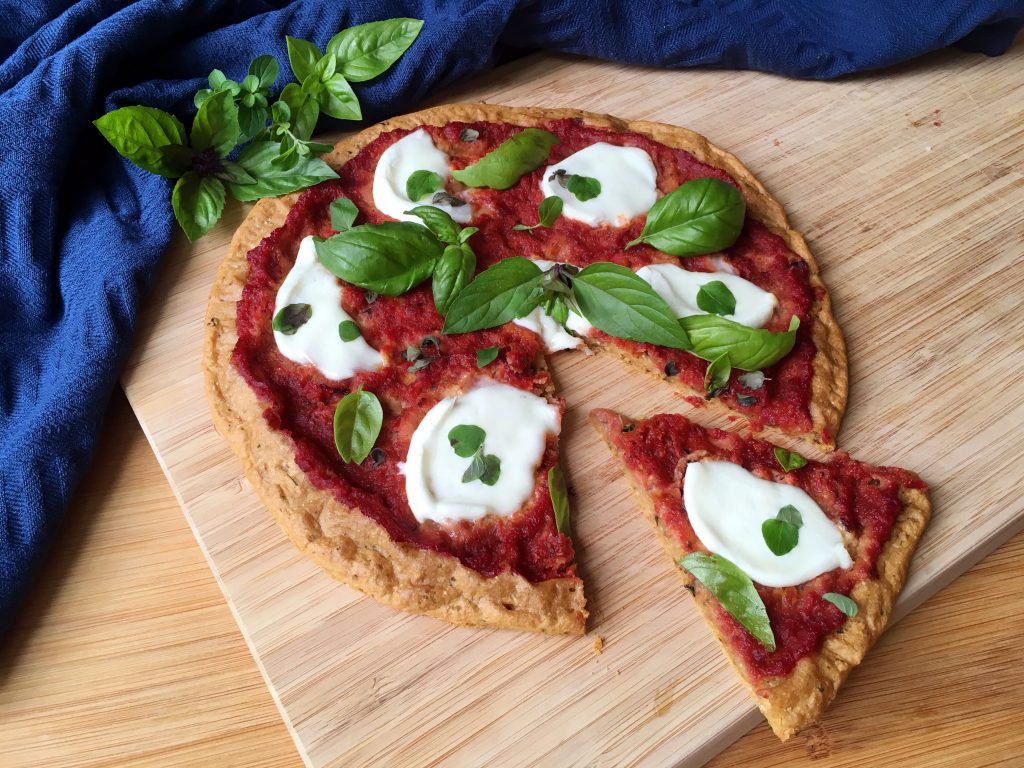
I like a variety of toppings on my pizzas. Most of the time my pizzas are without cheese, and I often load them up with a ton of veggies. As this post is about how to make the pizza crust, I choose to show a very simple pizza to show to you guys. This pizza is topped with my “Histamine Friendly Nomato Sauce“, buffalo mozzarella, fresh oregano and basil from my garden.

Mozzarella is one of my recently reintroduced foods. I know people with histamine intolerance who can eat it just fine, and never had a problem with it, and other people who can’t it. In terms of cheeses it is one of the low histamine cheeses, according to the Swiss Interest Group Histamine Intolerance (SIGHI) list which is the list I tend to look to. Mozzarella cheese scores a 0 on their list on a scale of 0-3 (3 = very poorly tolerated, with severe symptoms).
Next week I will share one of my favorite pizza recipes, perfect for this time of year. Until then I would love to hear what you will put on your pizza 🙂 Write a comment below 😉
Print
Description
Cassava Pizza Crust: Gluten Free | Grain Free | Dairy Free | Egg Free | Nut Free | Yeast Free | Vegan | Low Histamine
Ingredients
- 1 cup cooked cassava root (ca. 150 g)*
- 1 tbsp herbs of your choice (optional)
- 2 tbsp (extra virgin) olive oil
- 1 tsp Apple cider vinegar**
- 2–3 tbsp coconut flour
- 1/4 tsp (with a little top) baking soda
- 1/2 tsp salt
Instructions
- Start with peeling and chopping up the cassava root. Then boil it in a pot of water for about an hour. You want it to be soft and fall off the fork when you prick it.
- Transfer the boiled cassava root to a food processor. Don’t let it cool down too much, it is significantly easier to blend the cassava when it is warm than when it has cooled down.
- Before you blend the cassava root, add the (extra virgin) olive oil, apple cider vinegar, and herbs of your choosing. Blend it till you get a smooth paste.
- Mix together most of the coconut flour (2 of the 3 tbsp), baking soda and salt. Add the dry ingredients to the cassava paste and blend it for a bit to combine it.
- Take the dough out of your food processor and form a ball with your hands. You want to be able to form the dough without it sticking to your hands. If it is sticky, kneed in a bit more coconut flour. Then split the dough into 1 person portions (You need about 1 cup of cooked cassava per person. I usually just cook the entire cassava root, and multiply the recipe to fit.) and make individual pizza crusts.
- Now place the 1 person dough portion on a baking plate lined with grease proof parchment paper. Flatten it a bit with the palm of your hand and place another sheet of grease proof parchment paper on top. Then use your hands to flatten the dough further and form a crust as thin as you can. You are aiming for about 2 mm thickness. If the edges get a bit too thin, roll up the edges a bit to make them a bit thicker. The edges get the most crunchy.
- Bake the pizza crust in a preheated oven (180 °C/360 °F; hot air) for about 15-20 minutes. Then flip it and bake it for another 10-15 minutes on the other side. When the crust lets go of the grease proof parchment paper, it is ready to be flipped over. If it doesn’t let go, but sticks to the parchment paper, give it another couple of minutes. Note: The time needed in the oven depends on the thickness of your crust, the size of your crust, your oven, the placement in the oven, hot air vs normal setting, and finally how many pizza crusts you bake at the same time.
- When the crust is ready, take it out of the oven, and top it with your favorite pizza toppings. Pop it back in the oven for another 10 min (note: this also depends on which toppings you choose). Enjoy
Notes
- I normally cook the entire cassava root and then multiply the recipe to fit the amount of cooked cassava root. One portion using 1 cup (ca. 150 g) of cooked cassava root is enough for 1 person. The pizza crusts which are in surplus, you can freeze down. That way I have them ready for a quick and easy meal another day.
- Apple cider vinegar is a low histamine vinegar (scores a 1 on a scale of 0-3 on the SIGHI list (see link above). If you feel uncomfortable using the apple cider vinegar, or know that you don’t tolerate it. You can leave it out. The apple cider vinegar is added to help the dough rise (baking soda pus apple cider vinegar, is a great vegan rising agent).
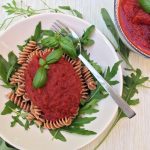
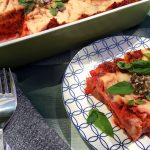
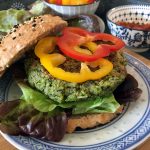
If you love this Low Histamine Cassava Pizza Crust – Grain Free recipe – you might like:


I really appreciate your time and effort paying this incredible resources and recipes forward! Food is such a huge piece of culture, identity, socializing/society, etc. so to partake in any additional capacity is incredibly impactful. Thank you!
Thank you Christina for the incredible nice words 🙂 <3 Thank you
Any other root or veggie instead of cassava? I don’t have that fresh where I live?
Hi Mary,
The cassava gets almost glue like, which is what helps make this grain free pizza bottom hold together. I don’t have an alternative to cassava in this recipe. However, there are a lot of other alternative pizza bottom recipes out there.
Please let me know if you find one you love ❤️
Tania
Can I use cassava flour instead of the root?
I don’t think it would give the same result. Please let me know if you try 🙂